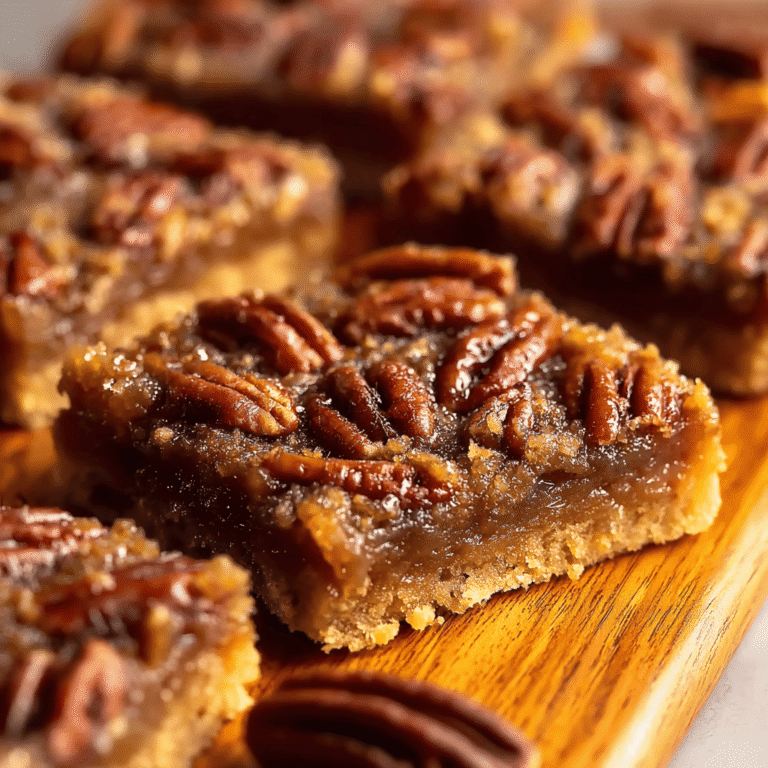
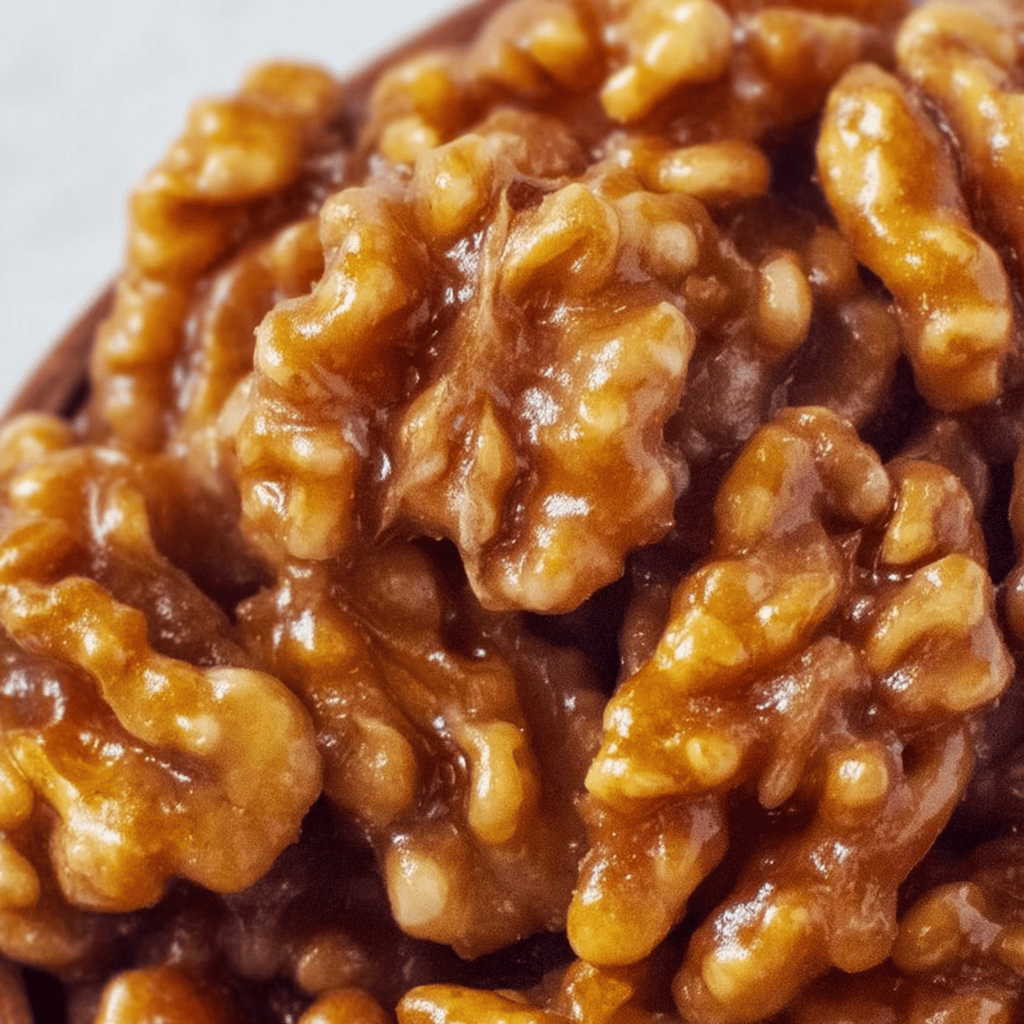
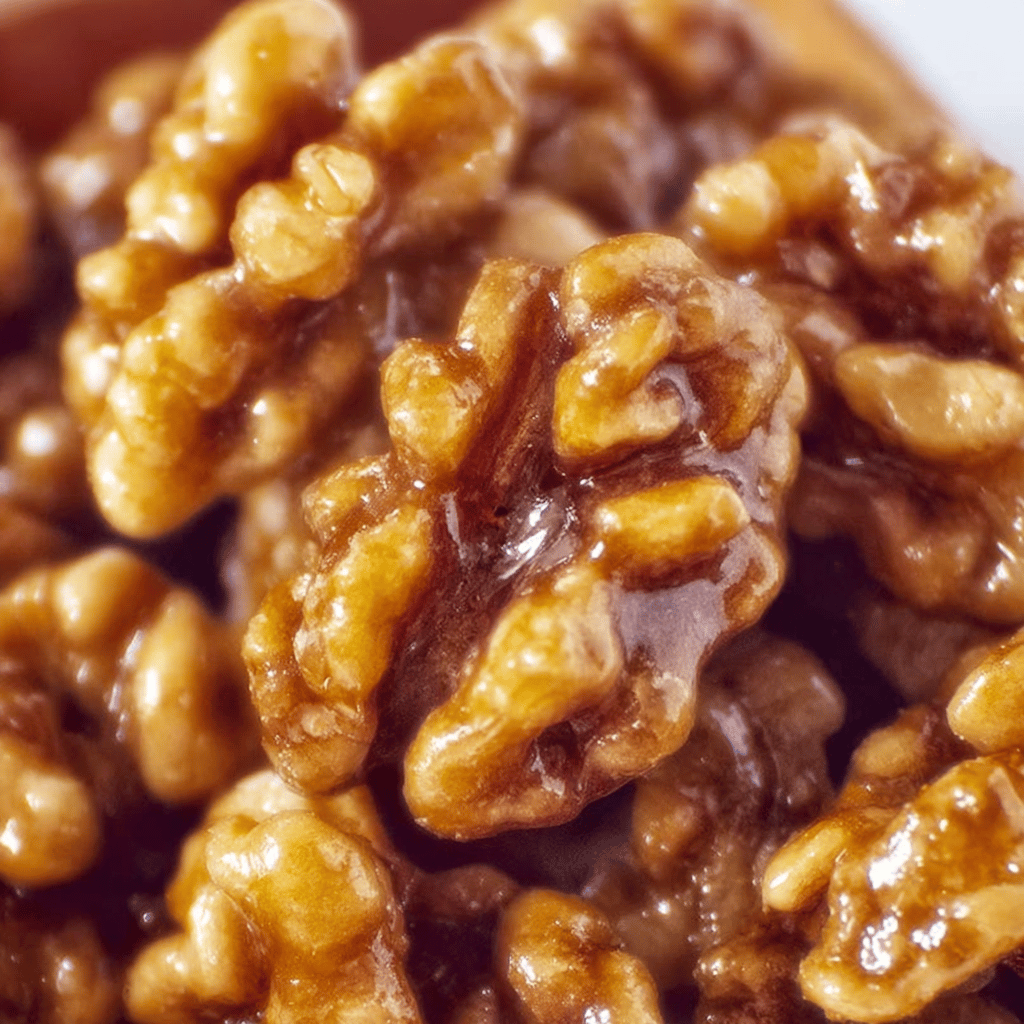
5-Minute Candied Walnuts
Have you ever stood in your kitchen, with guests on their way, and realized you forgot the appetizer? That was me, last Thanksgiving. In a panic, I turned to the one thing I knew I could make in a flash: candied walnuts. And, oh boy, was it a hit! It’s like they forgave my culinary blunder the second that sweet, nutty aroma started wafting through the house.
Now, I whip up these 5-Minute Candied Walnuts whenever I need a quick snack for movie nights or a fancy touch for salads. And let me tell you, they have never let me down. Just last week, my neighbor popped in unexpectedly, and I had these beauties ready faster than she could say “smells heavenly in here!”
Table of Contents
Ingredients
Okay, here’s what you’re gonna need. I’m all about keeping it simple, so don’t worry, there’s nothing too fancy here. And honestly, I’ve swapped things out when I’ve been in a pinch (more on that later).
- 1 cup raw walnuts
- 1/4 cup granulated sugar
- 1 tbsp unsalted butter
- 1/2 tsp vanilla extract
- Pinch of salt
- A sprinkle of cinnamon (optional, but trust me, it’s a game changer!)
Instructions
Alright, let’s get down to business. You won’t believe how easy this is. I’ve learned the hard way that it’s all about timing, so have everything ready to go before you start.
- Grab a medium skillet and heat it over medium heat. Toss in the walnuts and toast ’em for about 1 minute. You’re looking for a light brown color and that toasty smell that’s just so darn comforting.
- Add the sugar, butter, vanilla extract, salt, and if you’re using it, that magical dash of cinnamon. Stir continuously. This is where things get caramel-y and amazing, and where you need to keep your eyes peeled. It’ll happen fast!
- The sugar will melt and coat the walnuts. Keep stirring until everything’s looking golden and happy, which should take about 3 minutes. Don’t walk away or you’ll have a burnt mess on your hands (learned that the hard way).
- Once everything’s all shiny and coated, spread the walnuts out on a sheet of parchment paper. Separate them the best you can and let them cool. They’ll get that perfect candied crunch as they sit.
Tips & Tricks
Now, for the insider info. Here are a few nuggets of wisdom that’ll help you nail this every time:
- If your walnuts are already roasted, cut the toasting time in half. You just want to warm them up before adding the sugar.
- Want to mix it up? Try maple syrup instead of vanilla for a deeper flavor. Just watch out, it can burn quicker than sugar.
- Got leftovers? Throw them on top of yogurt, oatmeal, or even ice cream. They add the perfect crunch.
Troubleshooting
Not everything goes as planned, I know. Here are some fixes for common mishaps:
- If the sugar isn’t melting, your heat might be too low. Crank it up a bit, but keep a close eye on it.
- Sticky walnuts? They might not have cooled enough. Give them a bit more time, and they should set up just fine.
- If you accidentally burn them (it happens to the best of us), don’t scrape the pan. Start over with a clean one to avoid that bitter burnt taste.
Storage Tips
Here’s the deal with storing these bad boys – you gotta keep ’em dry. I store mine in an airtight container on the counter, and they’re good for about a week…if they last that long (the kids usually find them first).
Calories
Okay, so these aren’t exactly a health food, but we’re talking about a treat here! There are about 80 calories in a tablespoon of candied walnuts, so enjoy them in moderation.
Substitutions
I’ve had to make some swaps here and there, and honestly, it’s usually turned out just fine. Brown sugar gives a nice molasses twist, and coconut oil can stand in for butter if you’re dairy-free.
Cultural Story
My mom always said that cooking is like love; it should be entered into with abandon or not at all. Making these candied walnuts always reminds me of the holidays at home, when the kitchen was the heart of all our family chaos and warmth. There’s something deeply comforting about these flavors that feels like a hug from the past.
FAQ
Q: Can I use pecans instead of walnuts?
A: Absolutely! Pecans work great, too. Just follow the same steps.
Q: How do I prevent the walnuts from sticking together?
A: Spread them out on parchment paper and make sure they’re not touching as they cool. They’ll set up individually and won’t stick.
Q: Can I make these ahead of time?
A: Yes, you can! Just store them in an airtight container at room temperature, and they’ll stay fresh.
So there you have it, the down and dirty on making 5-Minute Candied Walnuts. Whether it’s your first time or you’re a seasoned pro, just remember to keep it fun. Cooking is all about the journey, the smells, the tastes, and the little moments of joy along the way. And honestly, isn’t that what makes it all worth it?
Cooking Tips
Right, on to the pro tips that’ll make you look like a kitchen wizard. I learned these from experience (and a couple of oops moments), so take notes!
- Stirring is key. You want to keep those walnuts moving so they get coated evenly and don’t stick to the pan. It’s a bit of an arm workout, but hey, who needs the gym when you’ve got candied walnuts to make?
- Use a non-stick skillet if you have one. It makes cleanup a breeze, and trust me, anything that makes washing dishes easier is a win in my book.
- Don’t rush the cooling process. I know it’s tempting to dive in while they’re still warm, but they really do need that time to turn into the crunchy treat we’re after. (The first time I made these, I was too impatient and ended up with a gooey, albeit delicious, mess.)
And another thing—these candied walnuts make for incredible gifts. Just pop them in a mason jar, tie a pretty ribbon around it, and you’ve got yourself a sweet little present that screams ‘I made this with love.’ Perfect for the holidays, or honestly, any time you want to spread some cheer.
Conclusion
There it is, friends—the ins and outs of whipping up the most delectable 5-Minute Candied Walnuts. It’s a recipe that’s close to my heart, not just for its simplicity, but for all the smiles it’s brought to my kitchen. I’ve watched my kids’ eyes light up when they come home to that signature scent, and I’ve shared laughs with friends over bowls of these little gems. So go on, give it a try. And remember, the best recipes aren’t just about the food; they’re about the memories you create while making them.