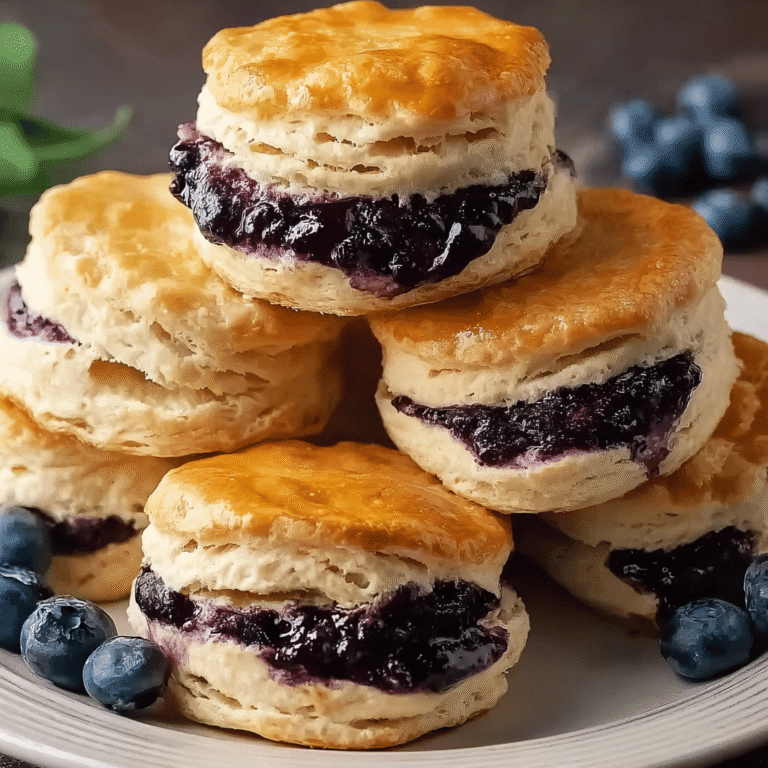
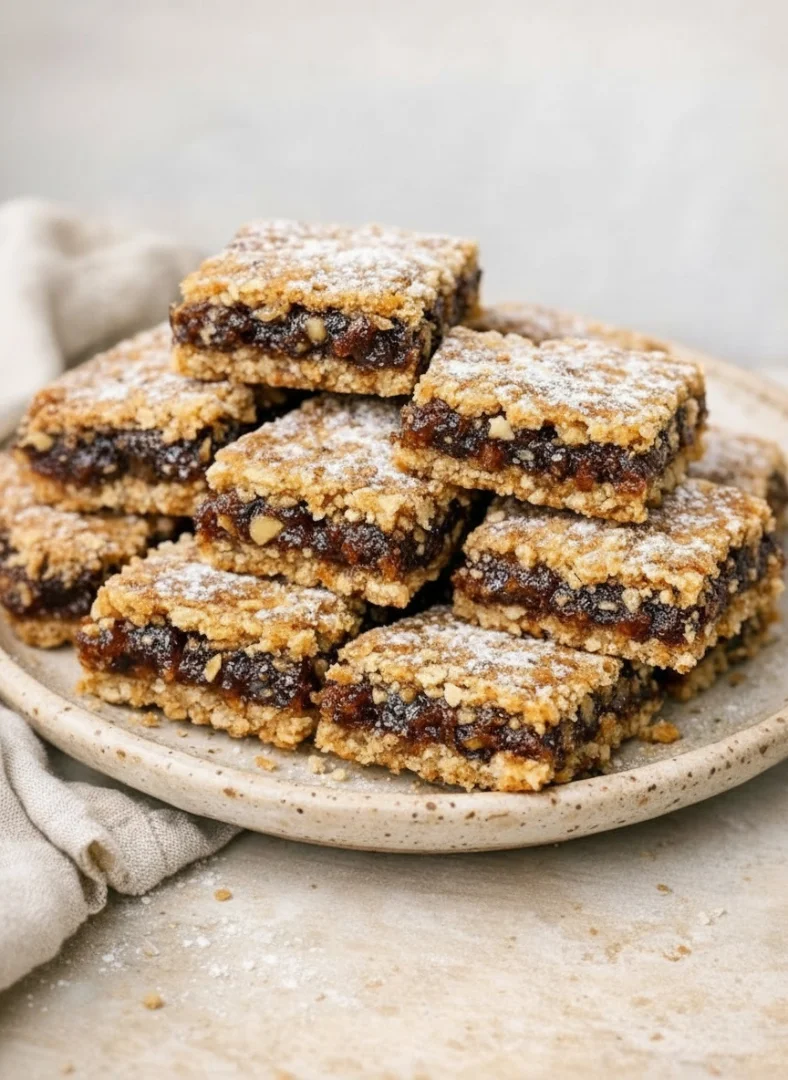
Chewy Vintage Bars
Indulge in a delightful journey to the past with our Chewy Vintage Bars, a perfect fusion of traditional baking methods and contemporary flavors. This recipe is a tribute to classic dessert bars, rich in nostalgia and bursting with flavors that evoke comforting memories. Whether you’re hosting a family gathering or simply craving a chewy treat, these bars are your go-to dessert. Explore the blend of sweet and salty, chewy and crunchy, in a bar that’s easy to make and satisfying.
Ingredients
Dry Ingredients
- 2 cups old-fashioned rolled oats
- 1 cup all-purpose flour
- 1/2 teaspoon baking soda
- 1/4 teaspoon salt
- 1/2 cup chopped nuts (e.g., walnuts or pecans)
Wet Ingredients
- 1/2 cup unsalted butter, melted
- 3/4 cup packed brown sugar
- 1/4 cup honey
- 1 large egg
- 1 teaspoon vanilla extract
Toppings
- 1 cup semi-sweet chocolate chips
- 1/2 cup dried fruits (e.g., raisins or cranberries)
- 1/4 teaspoon sea salt for sprinkling
Notes: For a gluten-free version, substitute the all-purpose flour with almond or oat flour. Ensure your oats are certified gluten-free if needed. You may also consider using organic ingredients for a more natural and wholesome taste.
Steps / Instructions
- Preheat your oven to 350°F (175°C). Line a 9×13 inch baking pan with parchment paper, allowing some overhang for easy removal. This step is crucial for hassle-free removal and neat, clean edges on your bars.
- In a large bowl, combine the rolled oats, all-purpose flour, baking soda, and salt. Stir in the chopped nuts until evenly distributed. This ensures every bite has a consistent texture and flavor profile.
- In a separate bowl, whisk together the melted butter, brown sugar, and honey until the sugar is dissolved. Add the egg and vanilla extract, beating until smooth. The mixture should be well-blended with no visible streaks of egg or butter.
- Gradually add the wet mixture to the dry ingredients, stirring until just combined. The mixture should be thick and slightly sticky, resembling a chunky dough rather than a liquid batter.
- Fold in the chocolate chips and dried fruits, ensuring they’re evenly dispersed throughout the batter. This step guarantees each bar is packed with bits of chocolate and fruit.
- Transfer the mixture to the prepared pan, pressing it evenly with a spatula. Sprinkle sea salt over the top for a sweet and salty finish. Pressing firmly will help the bars hold their shape after baking.
- Bake for 20-25 minutes, or until the bars are golden brown and firm to the touch. The edges should be slightly darker, indicating they are set.
- Remove from the oven and let cool in the pan for 10 minutes. Use the parchment paper overhang to lift the bars out and transfer to a wire rack to cool completely before slicing into squares. This cooling time is important to ensure the bars firm up properly. Once cooled, cut into even squares to maintain a uniform appearance.
Tips & Tricks
- Storage: Store these chewy vintage bars in an airtight container at room temperature for up to a week. For longer storage, refrigerate them for up to two weeks or freeze them for up to three months. Ensure they are fully cooled before storing to prevent condensation inside the container.
- Make-Ahead: Prepare the dough a day in advance and refrigerate overnight. This can enhance the flavors and make the bars even chewier. Allow them to sit at room temperature for about 10 minutes before pressing into the pan to bake.
- Avoid Overbaking: To ensure the bars remain chewy, keep a close eye on them during the last few minutes of baking. They should be just set in the center when you remove them from the oven, as they will continue to firm up as they cool.
- Pro Technique: Toast the nuts beforehand to elevate their flavor. Spread them on a baking sheet and bake at 350°F (175°C) for 5-7 minutes until fragrant. This brings out the natural oils and enhances the overall nutty taste in the bars.
Variations
Customize your chewy vintage bars by experimenting with different flavors and ingredients: Check out our related guide for more tips.
- Vegan Option: Replace the butter with coconut oil and the egg with a flaxseed egg (1 tablespoon flaxseed meal + 2.5 tablespoons water). Let the flaxseed mixture sit for a few minutes before adding it to mimic the texture of a traditional egg.
- Flavor Variations: Add a teaspoon of cinnamon or cardamom for a warm spice note. These spices pair beautifully with the sweetness of the chocolate and the tartness of the dried fruits.
- Ingredient Swaps: Substitute chocolate chips with white chocolate or butterscotch chips for a different flavor profile. You can also try dark chocolate chips for a less sweet, more intense chocolate flavor.
- Nut-Free Version: Omit the nuts and add extra dried fruits or seeds like sunflower or pumpkin seeds. This retains the crunch without the allergens, making it suitable for more people.
Serving Suggestions
These chewy vintage bars pair beautifully with a scoop of vanilla ice cream or a dollop of whipped cream. For a refreshing contrast, serve them with a chilled glass of Strawberry Lemonade or a warm cup of herbal tea. They also make a delightful addition to a dessert platter alongside other nostalgic treats like Rhubarb Custard Pie or Watermelon Sorbet. For a touch of elegance, consider serving these bars on a cake stand with fresh berries and mint leaves for garnish. You might also enjoy them with a cup of coffee for a comforting afternoon snack.
FAQ
- What makes these bars chewy? The combination of oats, brown sugar, and honey contributes to the chewiness, while the baking time ensures they stay moist. The interaction between these ingredients helps retain moisture, preventing the bars from becoming hard.
- Can I use quick oats instead of old-fashioned rolled oats? While quick oats can be used, they may alter the texture slightly, making the bars less chewy. Old-fashioned oats are preferred for the best texture. They provide a heartier texture that complements the other ingredients.
- Are these bars suitable for freezing? Yes, they freeze well. Wrap each bar individually in plastic wrap and store in a freezer-safe bag for up to three months. Defrost them at room temperature or warm them briefly in the oven to refresh their texture. Freezing these bars in portions can also make it easy to grab a quick snack on the go.
Chewy Vintage Bars
Indulge in a delightful journey to the past with our Chewy Vintage Bars, a perfect fusion of traditional baking methods and contemporary flavors. This recipe is a tribute to classic dessert bars, rich in nostalgia and bursting with flavors that evoke comforting memories. Whether you're hosting a family gathering or simply craving a chewy treat, these bars are your go-to dessert. Explore the blend of sweet and salty, chewy and crunchy, in a bar that’s easy to make and satisfying.
Ingredients
- 2 cups old-fashioned rolled oats
- 1 cup all-purpose flour
- 1/2 teaspoon baking soda
- 1/4 teaspoon salt
- 1/2 cup chopped nuts (e.g., walnuts or pecans)
- 1/2 cup unsalted butter, melted
- 3/4 cup packed brown sugar
- 1/4 cup honey
- 1 large egg
- 1 teaspoon vanilla extract
- 1 cup semi-sweet chocolate chips
- 1/2 cup dried fruits (e.g., raisins or cranberries)
- 1/4 teaspoon sea salt for sprinkling
Directions
Preheat your oven to 350°F (175°C). Line a 9x13 inch baking pan with parchment paper, allowing some overhang for easy removal.
In a large bowl, combine the rolled oats, all-purpose flour, baking soda, and salt. Stir in the chopped nuts until evenly distributed.
In a separate bowl, whisk together the melted butter, brown sugar, and honey until the sugar is dissolved. Add the egg and vanilla extract, beating until smooth.
Gradually add the wet mixture to the dry ingredients, stirring until just combined.
Fold in the chocolate chips and dried fruits, ensuring they’re evenly dispersed throughout the batter.
Transfer the mixture to the prepared pan, pressing it evenly with a spatula. Sprinkle sea salt over the top.
Bake for 20-25 minutes, or until the bars are golden brown and firm to the touch.
Remove from the oven and let cool in the pan for 10 minutes. Use the parchment paper overhang to lift the bars out and transfer to a wire rack to cool completely before slicing into squares.