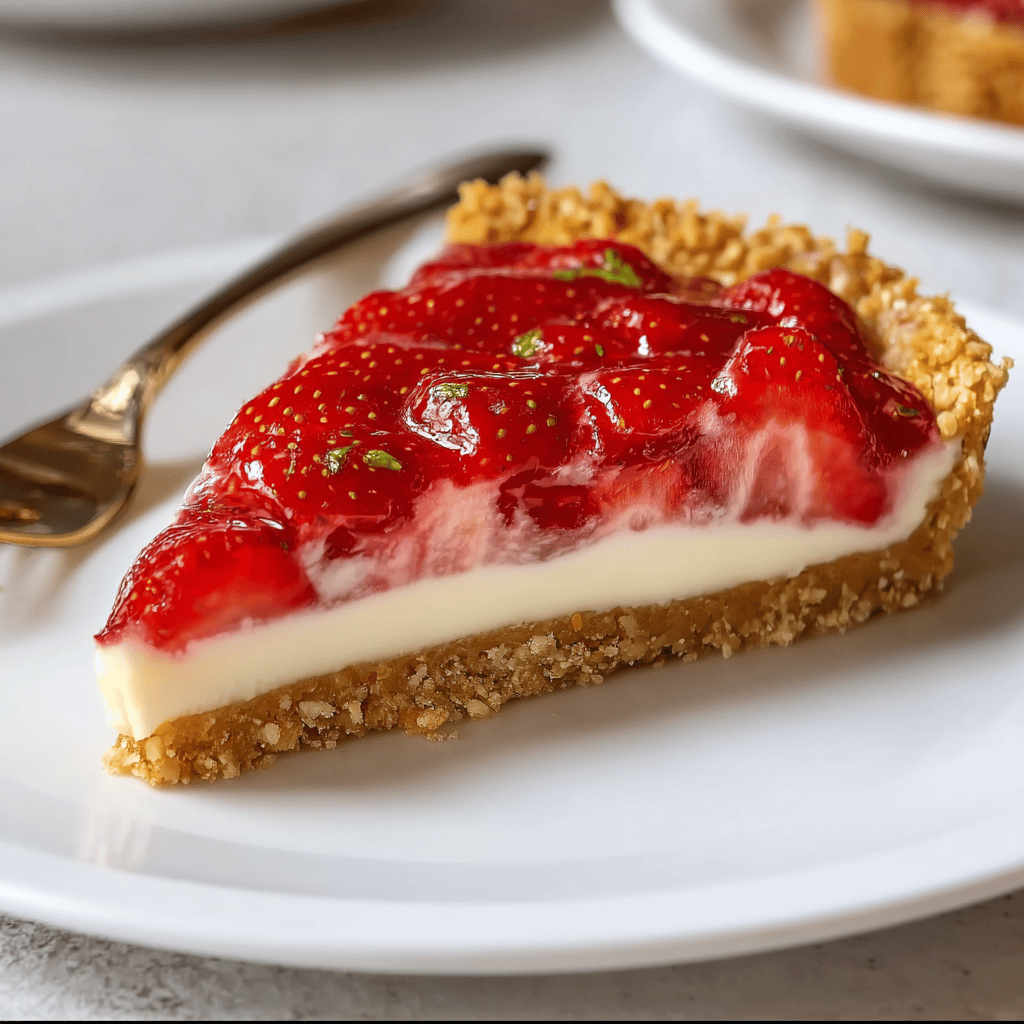
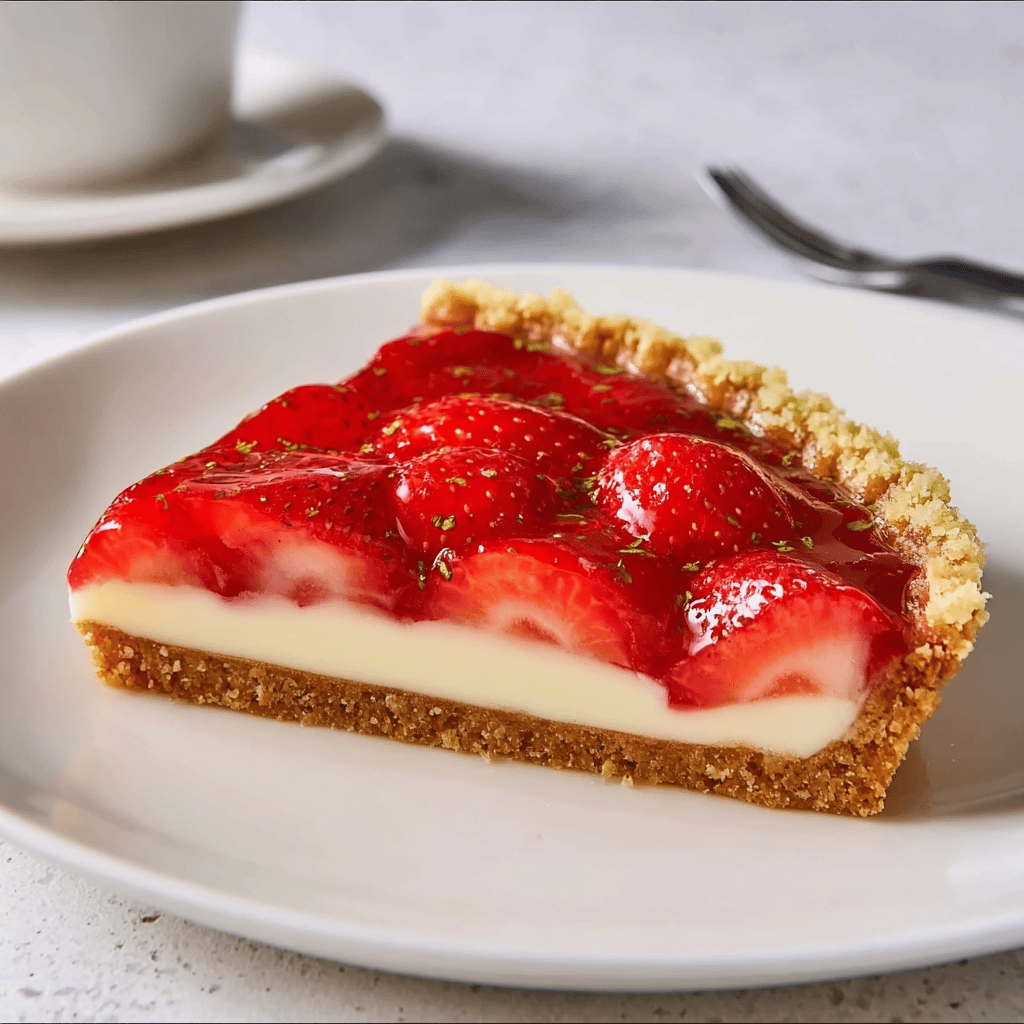
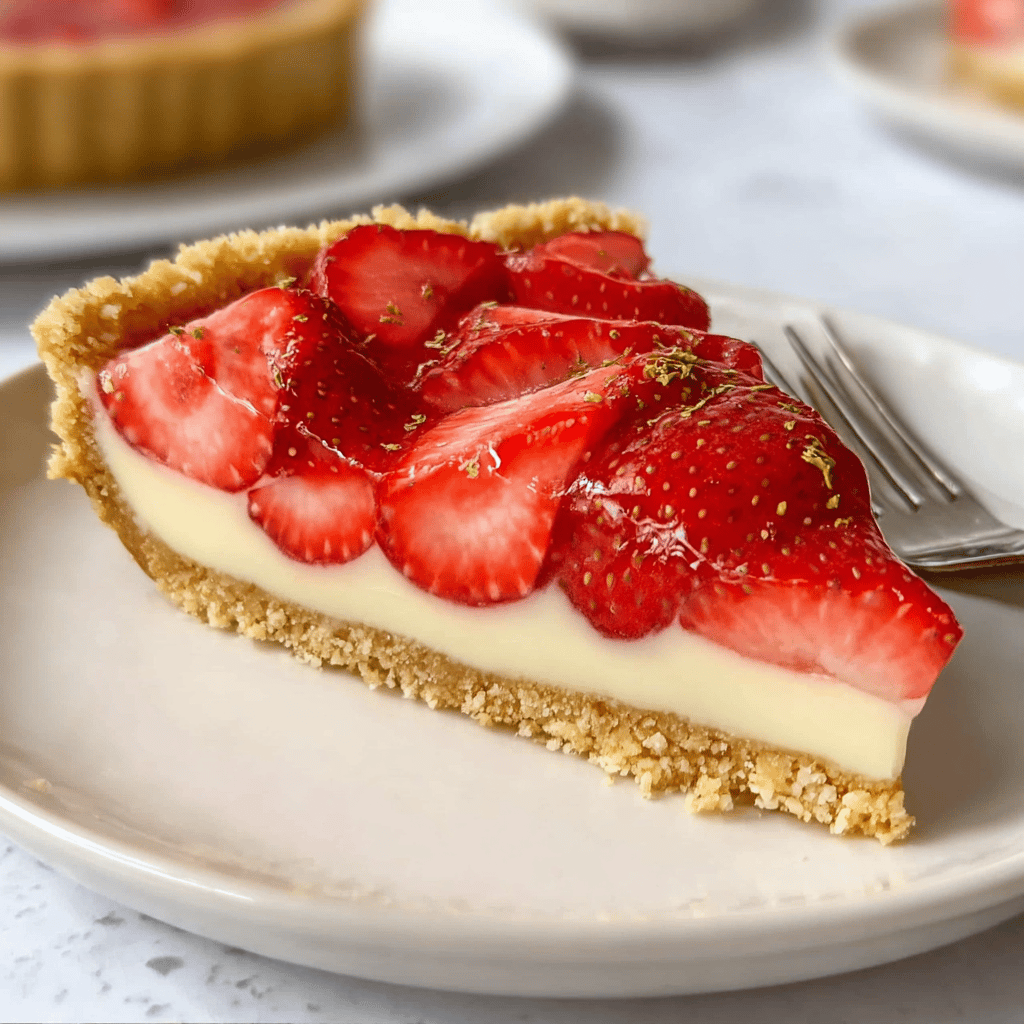
Easy Strawberry Buttermilk Pie
You know what? I never thought I’d say this, but strawberries and buttermilk are like that odd couple who end up perfectly happy together. The first time I made this Easy Strawberry Buttermilk Pie, it was a complete gamble. I mean, my kids were eyeing me suspiciously as if I’d finally lost it. But then the aroma hit us – that tangy yet sweet scent wafting through the kitchen – and all doubts vanished. It’s become a family favorite, especially when the strawberries are at their peak, and you can bet it’s now a staple at our summer gatherings.
Let’s be real, baking isn’t always as easy as pie (pun intended). I learned this the hard way when I mistook baking powder for baking soda on my first attempt. The result was less pie, more… science experiment. But after tinkering with the recipe and getting a few tips from my neighbor (who’s a whiz with desserts), I’ve honed it down to a simple, foolproof delight. Now, let’s get into this scrumptious recipe that’s bound to steal the show at your next dinner party or casual family night in.
Table of Contents
Ingredients
Before we dive in, let’s gather our cast of characters. I’m all for simplicity, so you won’t need to make a special trip to a fancy grocery store. Here’s what you’ll need:
- 1 premade pie crust (because sometimes shortcuts are a blessing)
- 2 cups fresh strawberries, hulled and halved
- 1 1/4 cups granulated sugar
- 1 cup buttermilk (low-fat works just fine!)
- 4 large eggs, beaten
- 3 tablespoons all-purpose flour
- 2 tablespoons unsalted butter, melted
- 1 teaspoon vanilla extract
- Zest of 1 lemon (the secret zing!)
Instructions
Now, about those instructions… I’ve got you covered. I promise, it’s as easy as pie (I had to do it again). Here we go:
- Preheat your oven to 350°F. Don’t skip this step – a properly heated oven makes all the difference!
- Place the pie crust into a 9-inch pie dish. Crimp the edges for a bit of flair, if you’re into that.
- In a large mixing bowl, whisk together the sugar, buttermilk, eggs, flour, melted butter, vanilla extract, and lemon zest until smooth.
- Gently fold in the strawberries. You want them to be friends with the batter, but not crushed.
- Pour the filling into the pie crust, and smooth the top with a spatula.
- Bake for 45-50 minutes, or until the pie is set and the crust is a beautiful golden brown. You’ll know it’s done when a toothpick inserted into the center comes out clean.
- Let the pie cool to room temperature, then chill it in the refrigerator for at least 2 hours. This is crucial for the pie to set properly. (Trust me, I learned this the hard way.)
- Once chilled, slice, serve, and watch it disappear!
Tips & Tricks
Here’s where the magic happens. A few pearls of wisdom that’ll make your pie the talk of the town:
- If you’re not a fan of super sweet desserts, feel free to dial back the sugar to 1 cup. The strawberries bring their own sweetness, after all.
- For a gluten-free version, swap the all-purpose flour for a gluten-free blend. The pie will still set beautifully. (Yes, my gluten-intolerant friend can vouch for this!)
- Don’t have buttermilk? Make your own by adding 1 tablespoon of lemon juice or white vinegar to a cup of milk and let it sit for 10 minutes. Boom – homemade buttermilk!
FAQ
Q: Can I use frozen strawberries instead of fresh?
A: You bet! Just make sure to thaw and drain them well to avoid a soggy pie.
Q: How many calories are in a slice of this pie?
A: It’s roughly 300-400 calories per slice, depending on the size and your specific ingredients. But hey, it’s pie, so let’s not dwell on the calories too much, okay?
Q: Any storage tips to keep the pie fresh?
A: Absolutely! Store it in the fridge, covered with plastic wrap or aluminum foil, and it’ll stay fresh for 3-4 days. But honestly, it’s so good, I doubt it’ll last that long.
Every time I make this Easy Strawberry Buttermilk Pie, it takes me back to those early summer days at my grandma’s, where the air was sweet with the promise of ripe berries. There’s something undeniably heartwarming about sharing a dessert that’s tied to such fond memories. I hope this pie brings as much joy to your table as it does to mine.
Remember, baking is about more than just following a recipe – it’s about the love and care you put into it. Whether it’s for a special occasion or just because, this pie is sure to spread smiles all around. So, grab your apron, rally your taste testers, and let’s make some delicious memories one slice at a time!
Troubleshooting
Even the best of us run into issues in the kitchen sometimes. Here are a few common pitfalls with this pie and how to sidestep them:
- If the crust is browning too quickly, don’t panic. Just cover the edges with strips of aluminum foil, and you’re golden (not the crust, we’re saving that from getting too golden, you know?).
- When your pie seems too jiggly after the baking time, give it a few more minutes. Ovens can be fickle friends and sometimes need a little extra time to do their thing.
- If the strawberries seem to be releasing too much juice and making the crust soggy, try tossing them with a tablespoon of flour before folding them into the batter. This little trick helps soak up some of that excess moisture.
Variations
Now, let’s talk about shaking things up a bit. I’m all for personalizing recipes, and this one is no exception. Here are a few variations that can add a twist to your pie:
- Chocolate Strawberry Buttermilk Pie: Who doesn’t love chocolate? Sprinkle some chocolate chips into the batter, and you’ve got yourself a decadent treat.
- Berry Medley Buttermilk Pie: Not just a one-berry wonder! Mix in blueberries, raspberries, and blackberries for a burst of berry goodness.
- Citrus Infusion: Swap out the lemon zest for orange or lime for a different citrus profile that’s just as delightful.
Storage Tips
Okay, let’s say you’ve got leftovers (happens to the best of us). Here’s how to keep your pie fresh and tasty:
- Always let the pie cool completely before storing. This prevents condensation, which can make the crust soggy.
- Wrap the pie gently with plastic wrap or aluminum foil. If you’re fancy and have a pie keeper, even better!
- When you’re ready to serve it again, a quick warm-up in the oven can bring back that freshly baked feel. (But cold pie is also amazing, just saying.)
Substitutions
So you’re either missing an ingredient or you’re catering to dietary restrictions. No worries, I’ve been there! Here are some handy swaps:
- Dairy-Free: Use a dairy-free milk alternative and a teaspoon of vinegar to mimic buttermilk. And a good quality vegan butter can replace the unsalted butter.
- Egg-Free: Egg replacers or silken tofu can work wonders in this pie. It’s all about that binding action.
- Sugar-Free: If sugar is off the table, try substitutes like Stevia or monk fruit sweetener. Just check the conversion rates – they can be sneaky.
The Cultural Story Behind the Pie
Buttermilk pie is a classic southern comfort food with a history as rich as its flavor. This pie reminds me of my mom’s kitchen, where the smell of buttermilk and fresh fruit meant something special was coming. It’s a dessert that speaks to the simplicity and ingenuity of cooks who made do with what they had, creating something extraordinary from the ordinary. Sharing this pie feels like I’m passing on a piece of heritage – a sweet slice of history that’s all about making the most out of life’s simple pleasures.
And there you have it, friends – the Easy Strawberry Buttermilk Pie recipe that’s close to my heart and, hopefully, soon to be a favorite in your home as well. It’s a pie that’s seen laughter, a few tears (darn onions), and more than its fair share of second helpings. So, from my kitchen to yours, happy baking!
May your strawberries always be sweet, and your buttermilk pies never flop. (And if they do, just remember, the best bakers are those who eat their mistakes with a smile and try again.) Bake on!