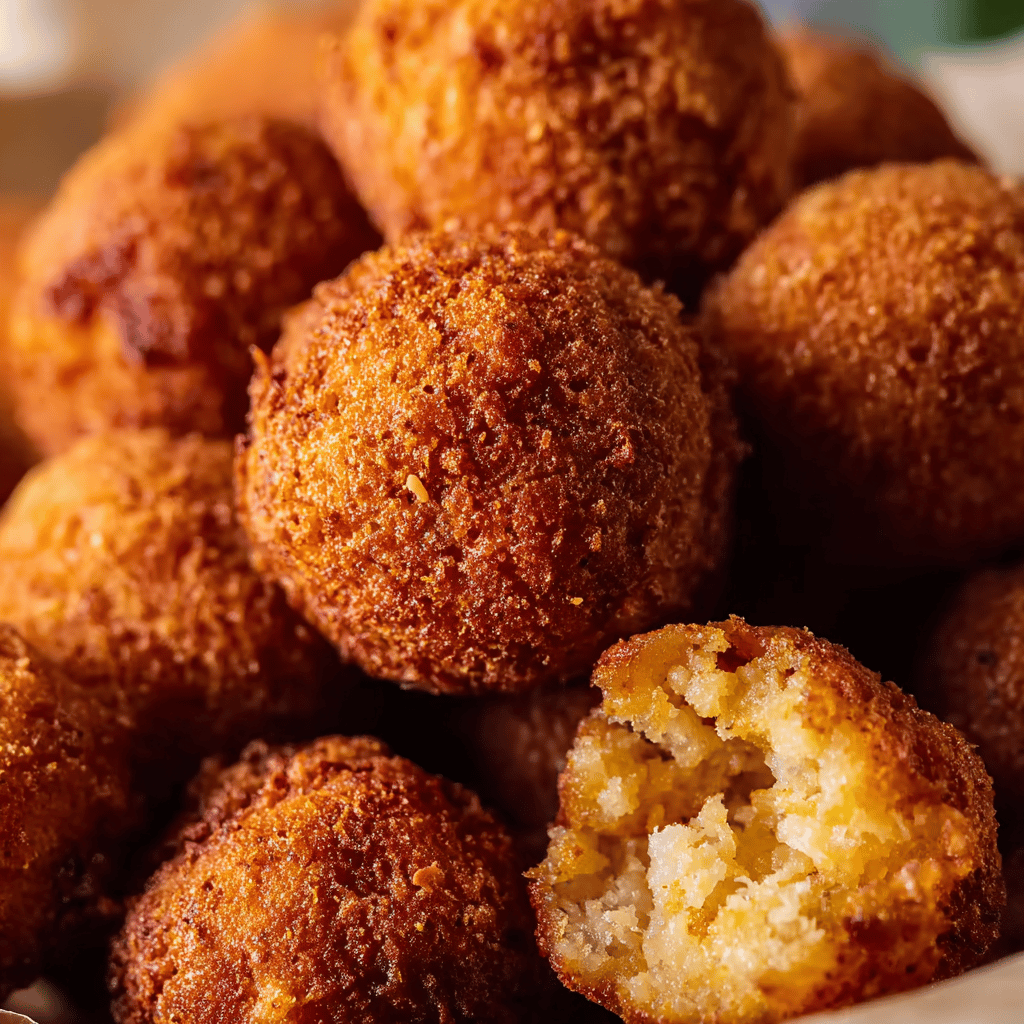
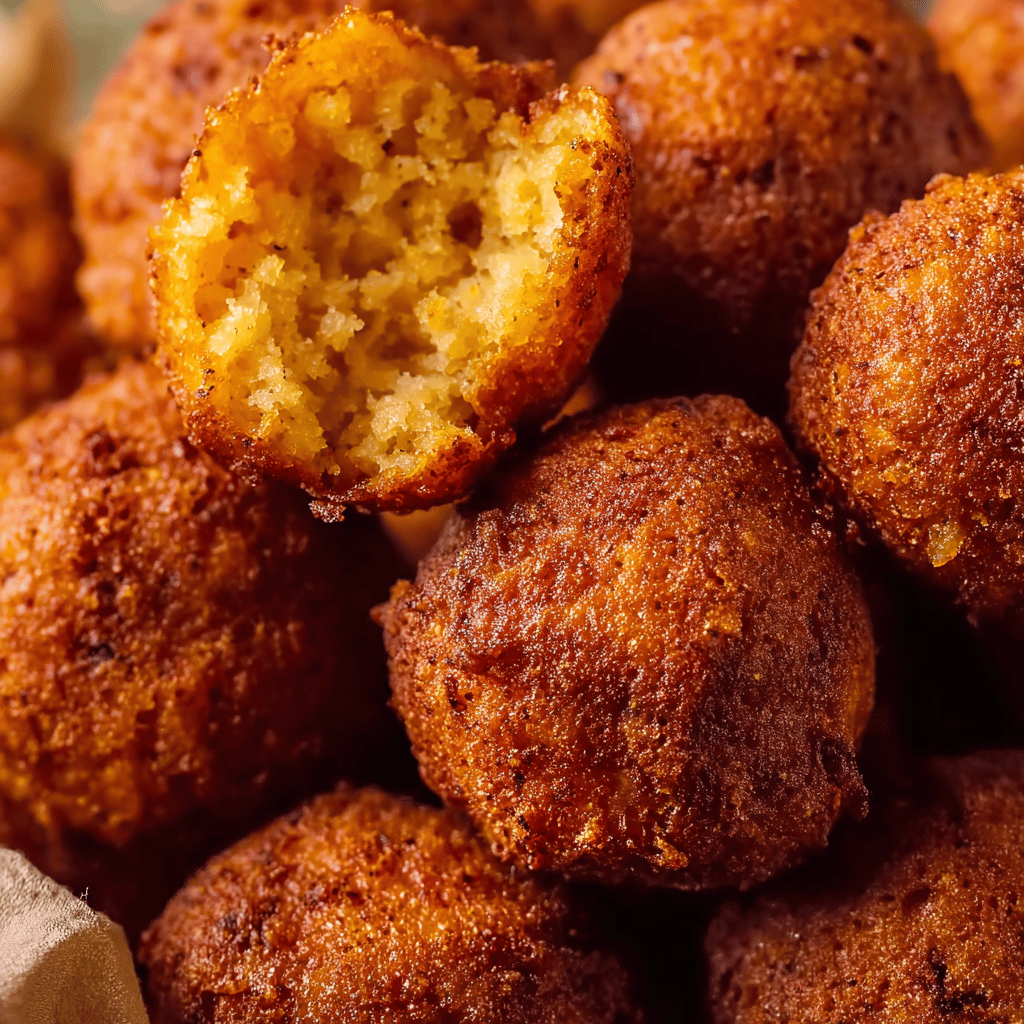
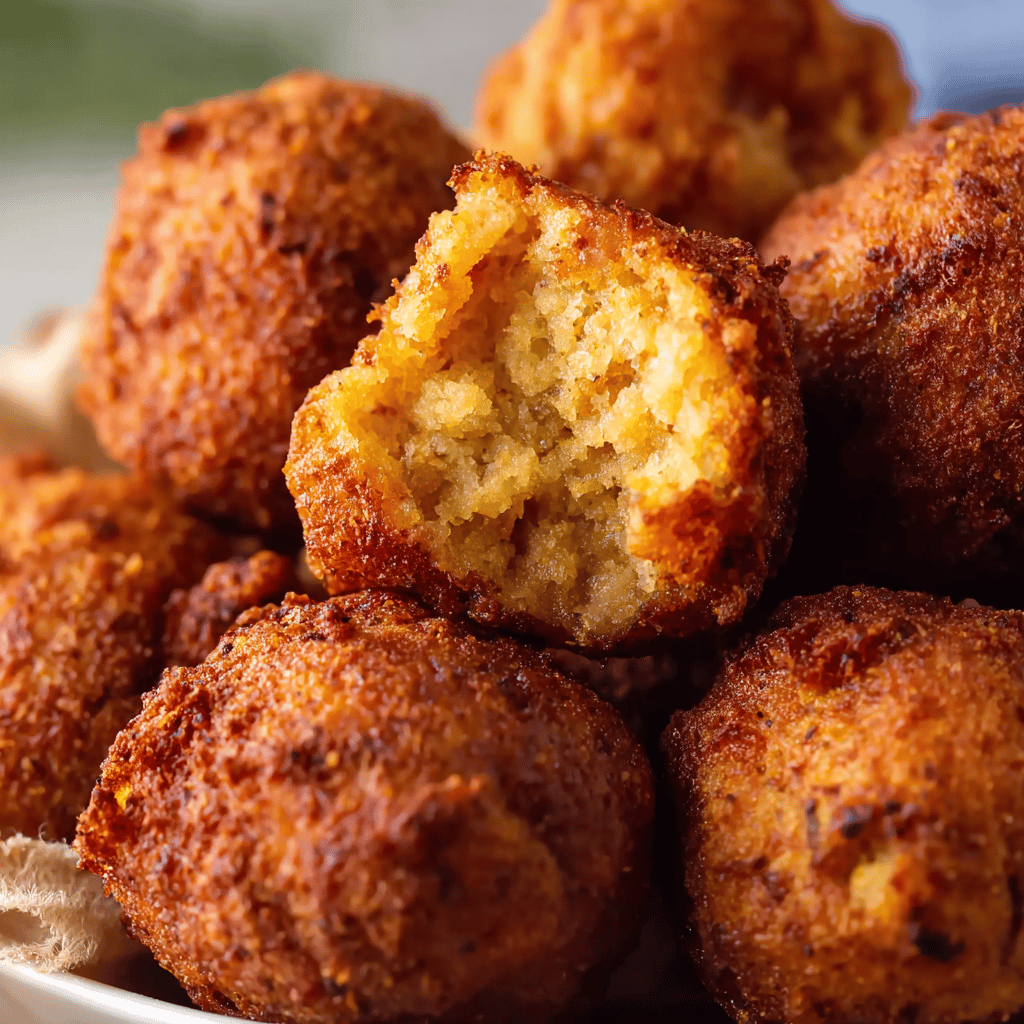
Homemade Hush Puppies
There’s something almost magical about a perfectly fried hush puppy. The golden, crispy exterior giving way to a soft, fluffy inside… I mean, it’s enough to make me forget about the main dish and just zero in on these little bites of Southern comfort. Now, I’ve got to admit, the first time I tried making these at home, it was a disaster – think oil splatters, doughy centers, and a smoke alarm serenade. But I’ve since perfected my recipe, and my family begs for these hush puppies more than anything else I cook.
They’re the perfect accomplice to a fish fry or BBQ, but honestly, I’ve been known to whip up a batch just because the craving hit me on a random Tuesday. And let me tell you, when the kids come running to the kitchen, following that unmistakably delicious aroma – that’s when I know I’ve done it right.
Table of Contents
Ingredients
Now about those ingredients… you might be surprised by how simple they are. Actually, you probably have most of them in your pantry already. Here’s what you’ll need:
- 1 cup yellow cornmeal
- 1 cup all-purpose flour
- 2 tablespoons granulated sugar
- 1 tablespoon baking powder
- 1/2 teaspoon salt
- 1/4 teaspoon cayenne pepper (optional, but it gives a nice kick)
- 1 large egg, lightly beaten
- 1 cup buttermilk
- 1/4 cup finely chopped onion
- Vegetable oil for frying
Instructions
Now, let’s get down to business. Don’t be intimidated – I’m here to guide you through this, step by step. (And remember, I’ve made all the mistakes already, so you don’t have to.)
- In a large bowl, whisk together the cornmeal, flour, sugar, baking powder, salt, and cayenne pepper.
- Stir in the beaten egg, buttermilk, and chopped onion until just combined. The batter will be thick; don’t overmix, or you’ll end up with hush puppies harder than a week-old baguette.
- Heat about 2 inches of vegetable oil in a deep fryer or large pot to 365°F. Trust me, getting the temperature right is key – too hot, and they’ll be burnt on the outside and raw inside; too cool, and they’ll soak up oil like a sponge.
- Working in batches, carefully drop tablespoon-sized balls of batter into the hot oil. Don’t crowd the pot – they need space to dance around and brown evenly.
- Fry until they’re a beautiful golden brown, about 2-3 minutes, then remove with a slotted spoon and drain on a paper towel-lined plate. Resist the temptation to pop one in your mouth right away, or you’ll have a burnt tongue to show for it. (Learned this the hard way!)
- Serve warm with your favorite dipping sauce, or just plain – they’re honestly that good.
Tips & Tricks
Here are a few nuggets of wisdom (trust me on this) to ensure your hush puppies turn out perfect every time:
- Check Your Oil: Use a candy thermometer to keep that oil temperature steady. Fluctuating heat is the enemy of consistent frying.
- Size Matters: Use a cookie scoop to get uniform hush puppies. You want them to cook evenly, and this way they’ll all be friends – no one’s too big or too small.
- Flavor Variations: Feel free to mix in some diced jalapeños, corn kernels, or shredded cheese for a tasty twist.
FAQ
Got questions? I’ve got answers. Here are a few that pop up all the time:
Q: Can I make hush puppies without buttermilk?
A: Absolutely! If you don’t have buttermilk on hand, mix 1 tablespoon of white vinegar or lemon juice with enough milk to make 1 cup and let it sit for 5 minutes. Voilà – homemade buttermilk!
Q: How do I store leftovers?
A: Store any leftover hush puppies in an airtight container in the fridge. They’ll keep for a couple of days, but they’re best enjoyed fresh.
Q: Can I bake hush puppies instead of frying?
A: You can, but they won’t have that classic crispy exterior. If you must, bake them at 425°F for 10-12 minutes, but I’m a purist – frying is the way to go.
The hush puppy has a special place in the narrative tapestry of the South, where it’s whispered that the name came from cooks tossing fried cornbread to barking dogs to “hush the puppies” during gatherings. Whether that’s true or just a delicious piece of folklore, one thing’s for sure: these morsels have earned their spot on the Southern table.
Conclusion
There you have it – homemade hush puppies that’ll make your heart sing and your taste buds dance. Remember, cooking is about the journey, not just the destination. It’s okay to make mistakes (like that time I mistook powdered sugar for flour – not my finest hour), because that’s how we learn and grow as cooks. So grab your ingredients, heat up that oil, and get ready to enjoy a little piece of Southern heaven. Your family and friends will thank you – mine certainly do!
Troubleshooting
Alright, so let’s talk about when things don’t go exactly as planned. We’ve all been there, standing over a pot of oil, wondering why our hush puppies are looking more like hush “flops.” Here’s a quick troubleshooting guide to save the day:
- Batter Too Runny: If your batter isn’t holding together, it’s probably too wet. Just sprinkle in a bit more flour until the consistency feels right. You’re looking for a batter that reluctantly drops off the spoon.
- Not Cooking Through: If they’re gold on the outside but still gooey in the middle, your oil might be too hot. Lower the temperature a bit, and give them a minute or two longer. Patience is key (learned this the hard way).
- Oil Absorption: If they’re coming out greasy, your oil’s not hot enough. Crank up the heat and let it come back to temperature before dropping in the next batch. And don’t overcrowd the pot – they need space to fry, not steam.
- Flavor’s Off: If they taste a bit bland, don’t be afraid to up the salt or add more of the seasonings. A little extra onion or a pinch more cayenne can make all the difference. (My mom always says, “Season to taste, honey!”)
Now, about those variations I mentioned earlier. Hush puppies are like a blank canvas – they’re great on their own, but they’re also amazing with a little extra pizzazz. Here are some of my favorite add-ins to make these puppies really shine:
- Cheddar cheese and chopped green onions for a sharper, tangier puppy.
- Cooked and crumbled bacon because, well, bacon makes everything better.
- A spoonful of honey in the batter for a sweet and savory twist that’s absolutely divine.
And let’s not forget about the dipping sauces. Classic ketchup is fine, but honey mustard or a spicy remoulade can elevate your hush puppies to legendary status. Experiment and find your family’s favorite combo. (The kids love when I make a garlic aioli to go with these!)
Before I forget, you might be wondering about the calorie count. Well, hush puppies are a treat, and as with all good things, they should be enjoyed in moderation. Each one of these golden nuggets is roughly 60-70 calories, depending on size and any add-ins. Just remember, it’s all about balance.
(Oh, and another tip – if you’re making these for a party, you can prep the batter ahead of time and keep it in the fridge. Just give it a quick stir before frying. Game changer!)
Storage Tips
Okay, so you’ve made too many hush puppies (as if there’s such a thing), and you’re not sure what to do with the leftovers. First off, don’t you dare throw them out. Here’s how to keep them for later:
- Refrigerating: Store them in an airtight container in the fridge for up to 3 days. They’ll lose some crispiness, but we’ll handle that in a sec.
- Freezing: You can freeze hush puppies! Lay them out on a baking sheet, freeze until solid, and then pop them into a freezer bag. They’ll be good for a couple of months.
- Reheating: To bring back that just-fried taste, reheat them in a 350°F oven for about 10 minutes if refrigerated, or 20 minutes if frozen. And trust me, they’ll taste pretty darn close to fresh.
Lastly, let’s talk substitutions. If you’re out of cornmeal, you can use polenta or even finely ground corn chips (yes, really). No buttermilk? A mix of milk and yogurt can do the trick. And for my gluten-free friends, there are some solid GF all-purpose flours out there that work like a charm.
As for the cultural story behind these delightful little morsels, I love sharing this tidbit at dinner parties. Besides the tale of quieting pups, some say hush puppies originated from Civil War soldiers tossing fried cornbread to distract the enemy dogs. True or not, it’s a great conversation starter!
So there you have it, folks. The ins and outs, the dos and don’ts of homemade hush puppies. It’s been quite the journey – from disastrous first attempts to becoming a family legend. It just goes to show that a little perseverance (and a lot of oil) can lead to something truly delicious. Now go on, make a batch, and create some crispy, golden memories of your own.